How easy is this going to be?
Worried? Don’t be. It may be fair to say that if you’ve never taken the cover off a computer in your life then this maybe isn’t the ideal starting point. But if you’ve ever dabbled a bit, maybe adding memory or changing a hard disk on a desktop PC, then you should be fine here.
The thing to remember is that the basics are the same. The challenge, such that it is, really only relates to the space – you are trying to stuff the innards into a much tighter space than you have in a typical PC.
Here, then are the steps we should expect to follow, at a very high level:
- Open the case and familiarise what’s what.
- Install motherboard into case.
- Cable motherboard to case cables.
- Add memory to motherboard.
- Fit disk and attach to motherboard.
That will be about it. Sure one or two bits might be fiddly due to space constraints, but it shouldn’t be much more difficult than that. Let’s see how it goes…
Putting it all together
I’m guessing that anyone putting a system like this together is not a total newbie to system building – I’m sure you know your way around connecting the standard parts of a PC together. What I will do here is hit on the “highlights” and “gotchas”.
The case is very nicely made. Comes apart easily enough and the motherboard fits perfectly within. Four screws hold it in place. With reference to the manual most of the connection from chassis to board are straightforward. However do take care when choosing where to plug in the USB header – there are several blocks of pins which look like a fit, including the appropriate “missing pin” location. So check the manual first – some of those physically inviting blocks of pins are most certainly not USB, so you don’t really want to treat them as such…
The only other area of cabling that made me pause for thought was the front-panel to motherboard header. So that’s the four connections for:
- Power switch
- Reset switch
- Power LED
- HDD LED
The manual only identifies the pin-out of the header on a per-pin basis, so you actually have to think a little as to where the connectors attach. But attach they do.
The drive mounting is easy enough, and in such a small chassis one is extra pleased that SATA was invented. Fitting a SATA cable in place is heaps easier than one of the old 40/80-way ribbon connectors.
Since I chose not to install a CD drive in this chassis, I needed to leave the lid off and cable in, via IDE, a CD drive to perform the initial software install. Not difficult until you discover that you only have one disk power connector available, and that’s already piped to the hard disk. So make sure you’ve got a Y-cable handy for splitting off the power required for the temporary drive.
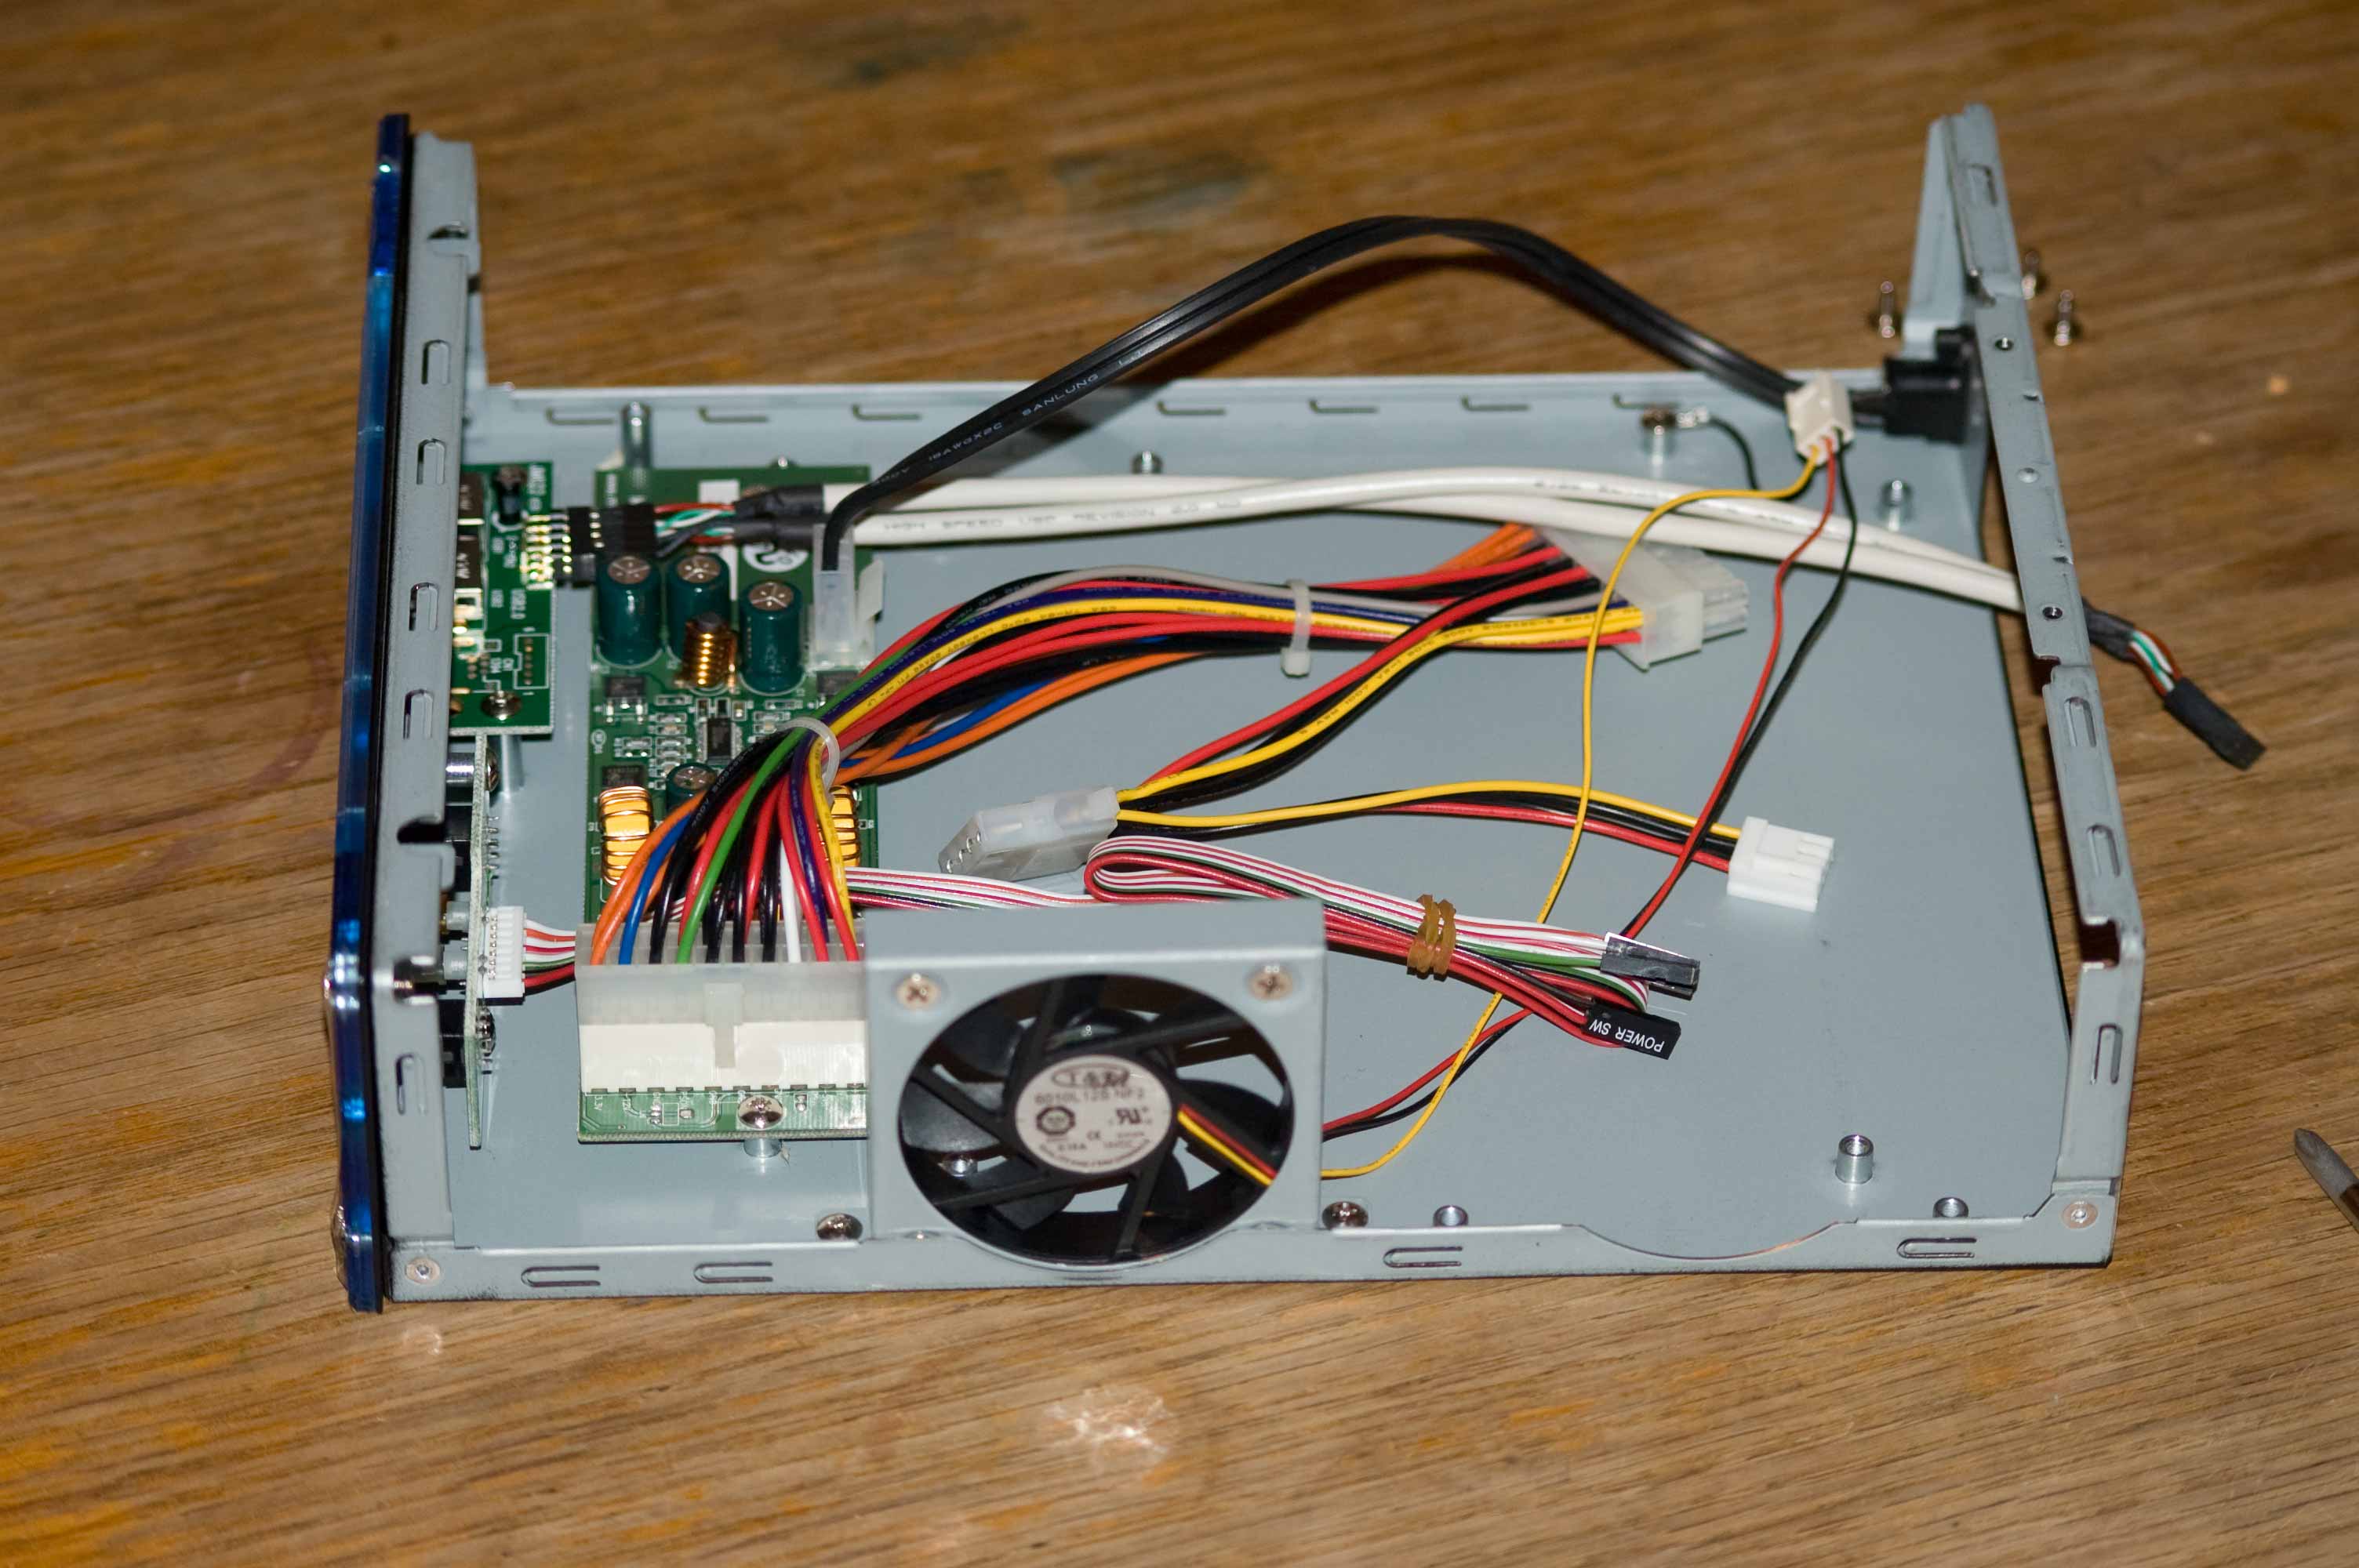
Here’s the bare chassis, prior to fitting anything:
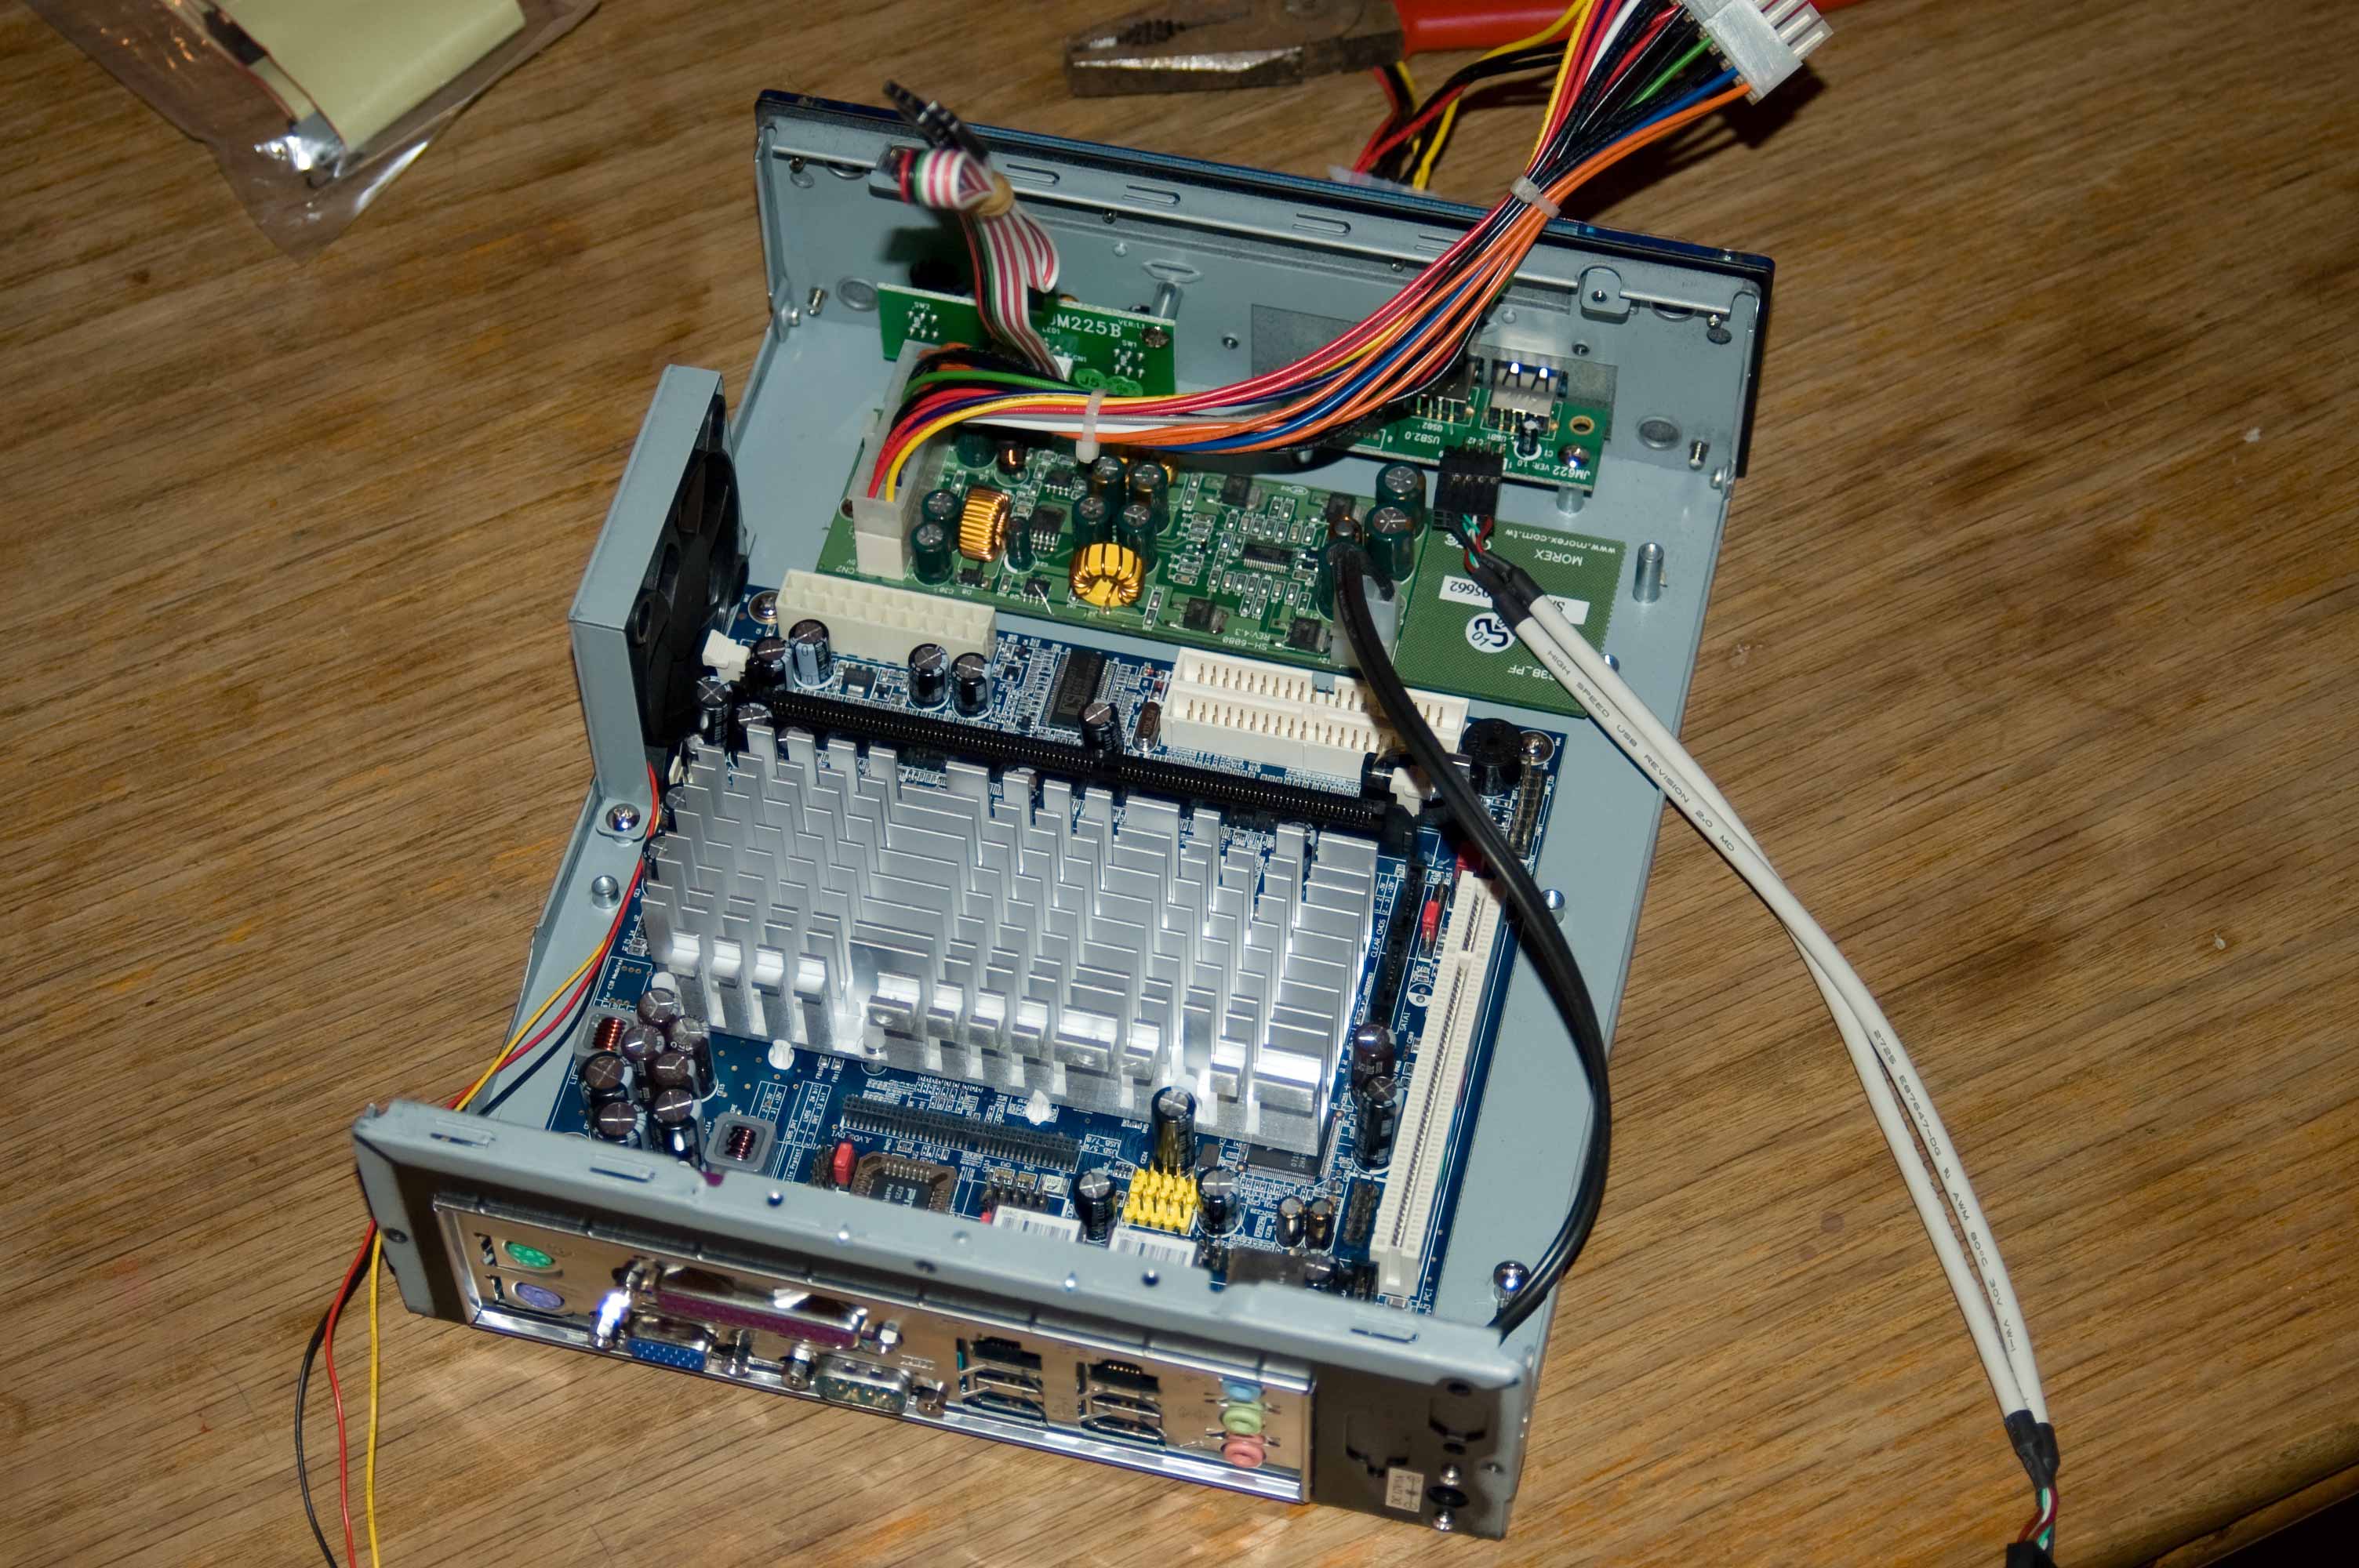
And here’s the motherboard fitted to the chassis:
So it worked first time, right?
Everything connected, cabling checked. Drive mounting bracket screwed back in place over the motherboard. Screen attached. Keyboard plugged in. Power it up and… plaintive beep beep beeping. Oh bugger.After, I have to confess, several minutes of thinking and worrying I realise that I hadn’t plugged in the memory. Red face. Add some memory and it powers up a treat.
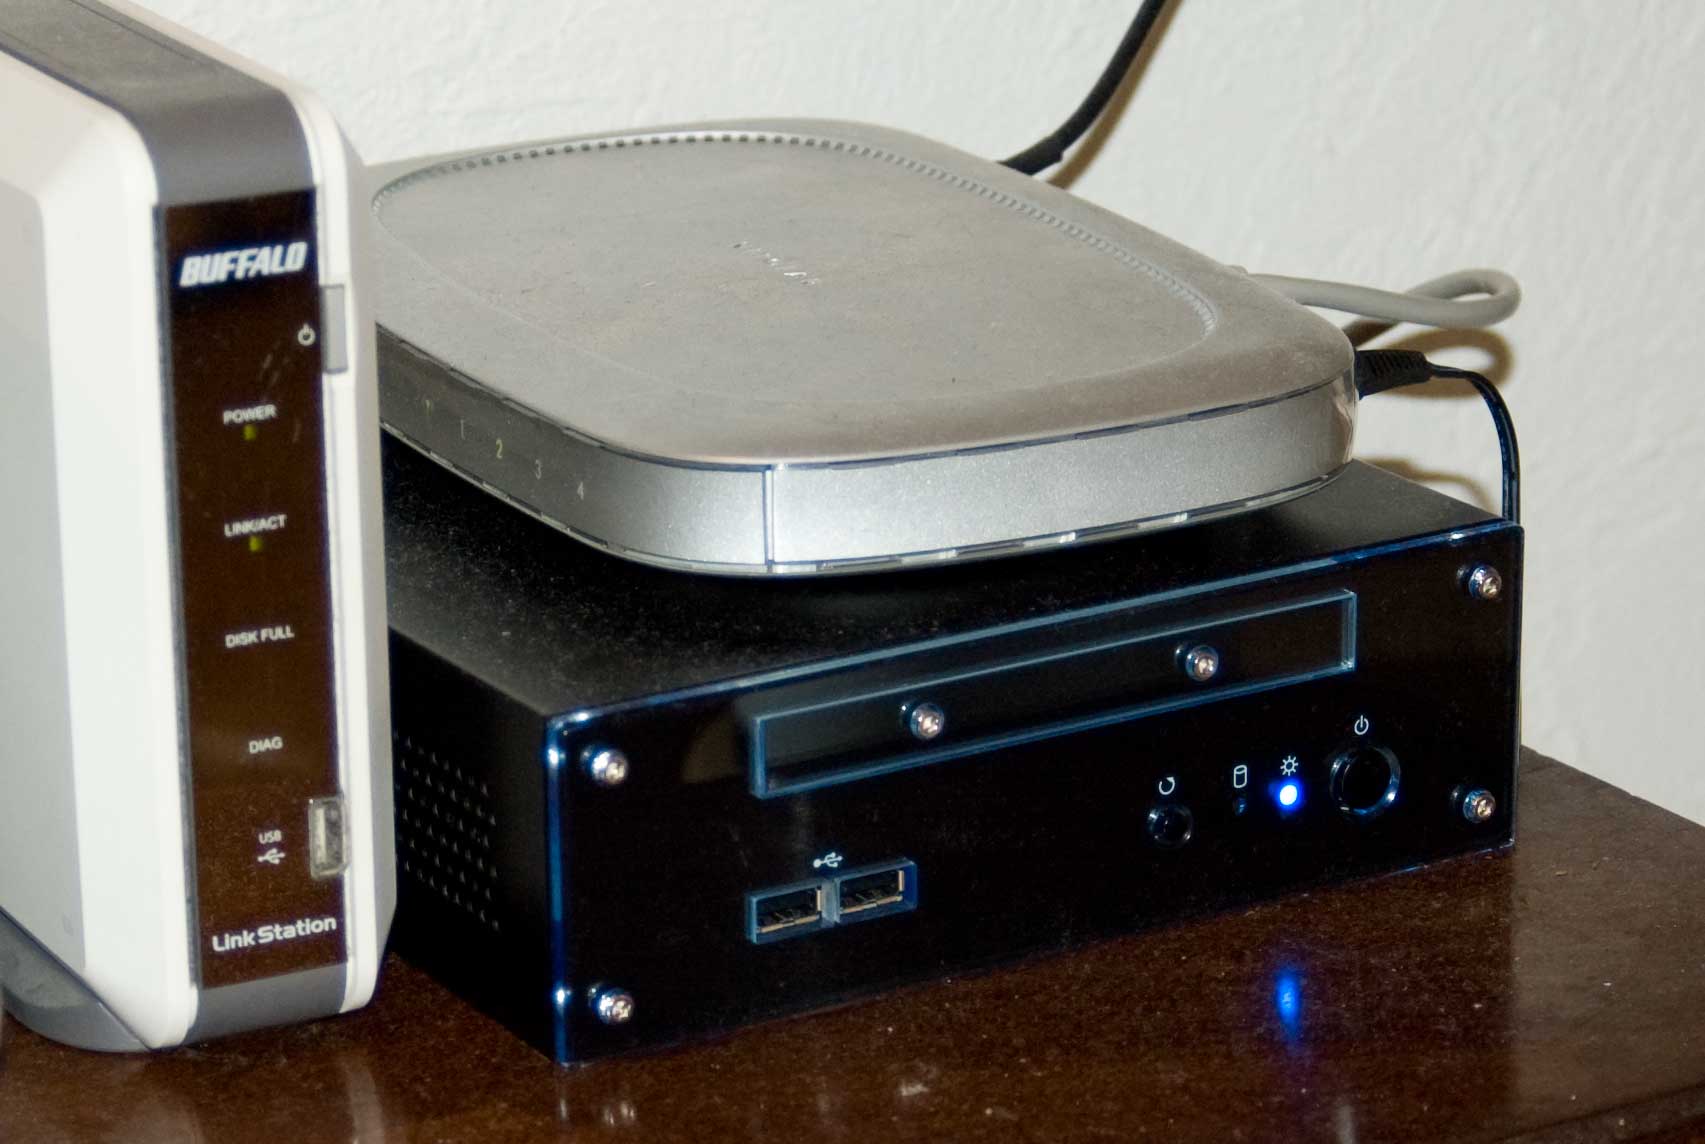
Here’s the finished article, insitu with some other items:
See this third section for how we actually build the software environment.
[…] Building the hardware and installing the software will now cover the next steps! Read on… […]